

Three steps to a printed page
-
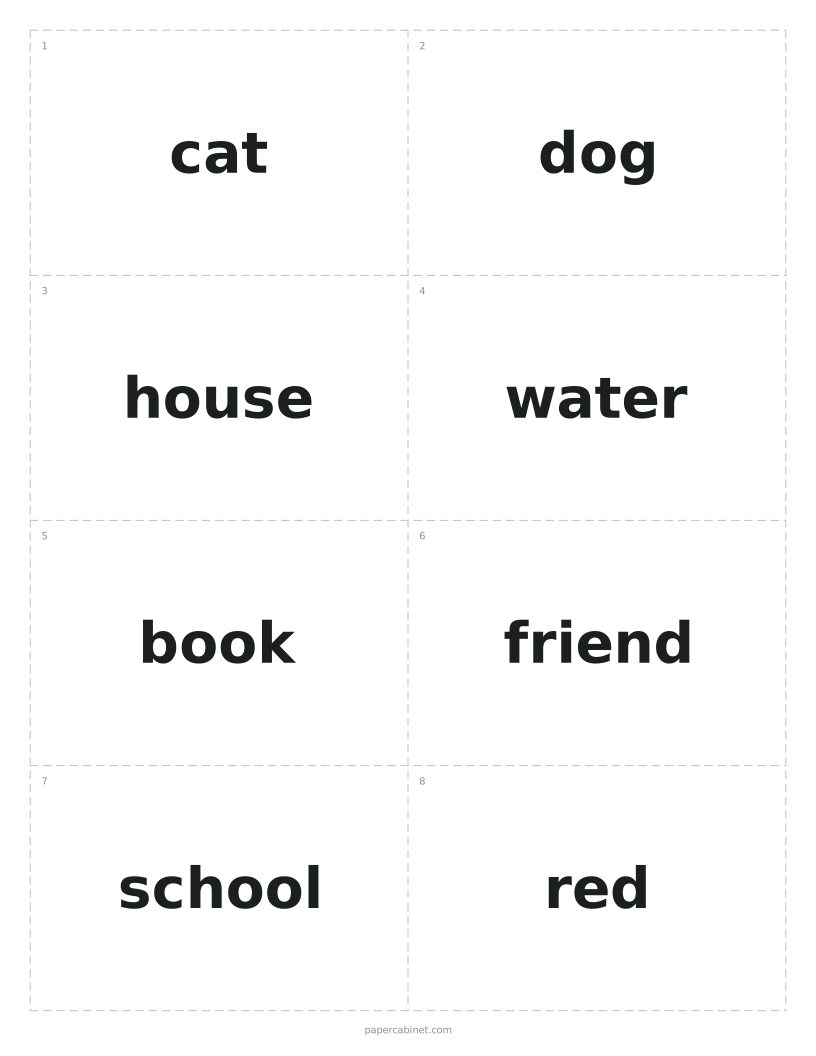
Type the letters, words or sentences to practise, one line per row.
-
Pick print or cursive, a line size, and how many times to trace each line.
-
Press Print. The pattern repeats to fill the page unless you switch that off.
Reading the guide lines
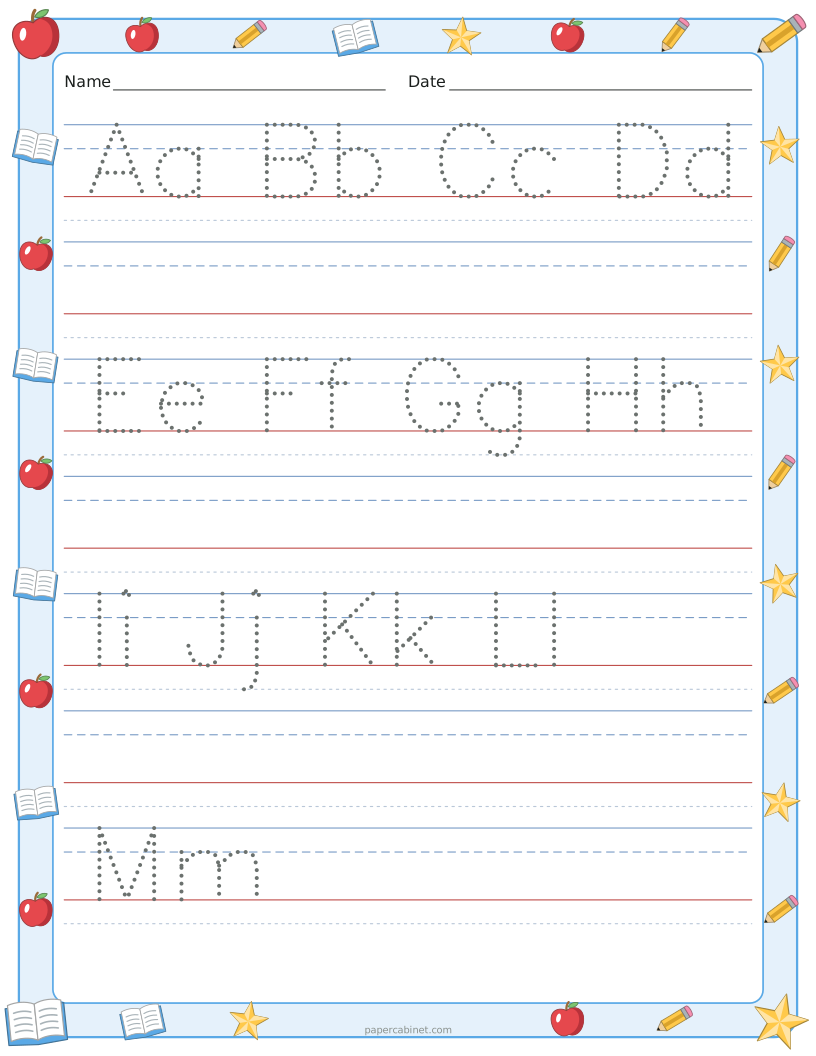
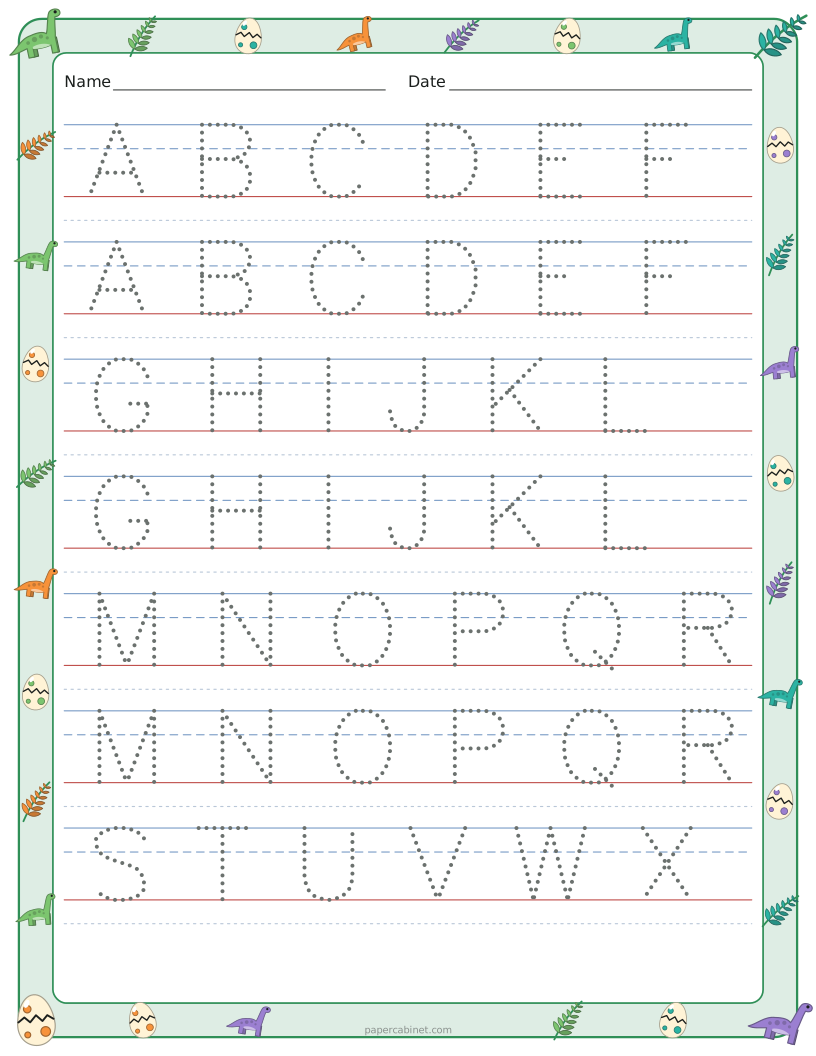
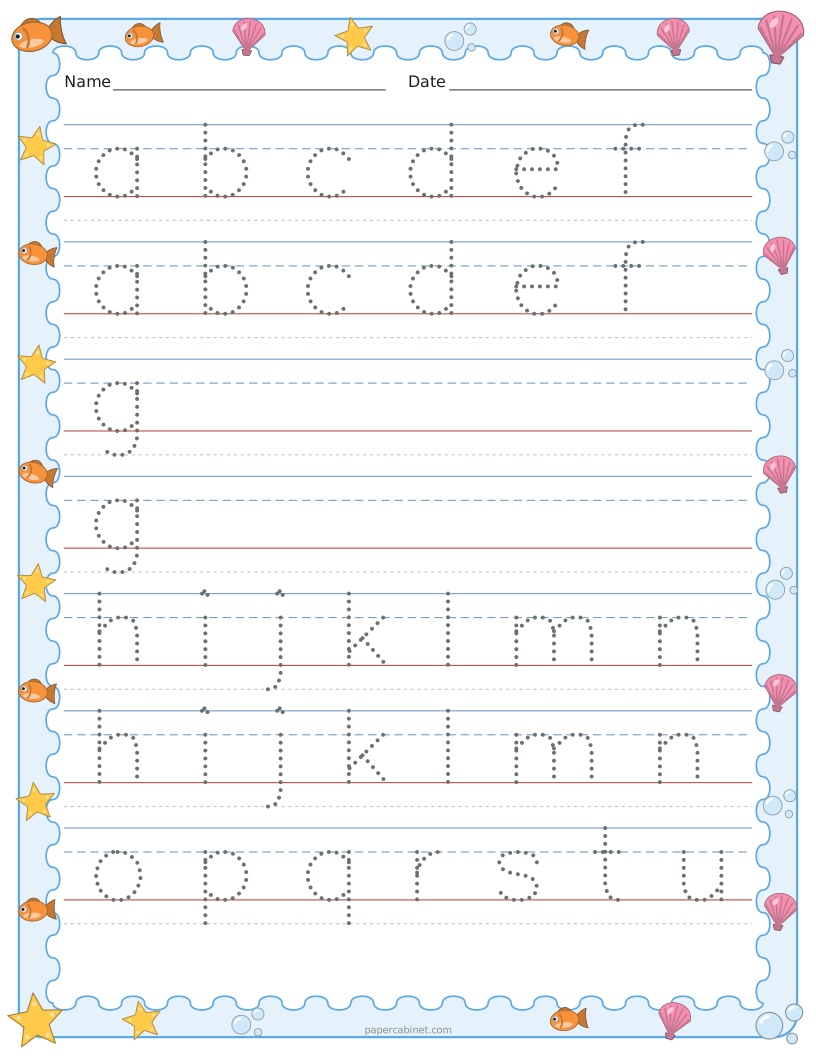
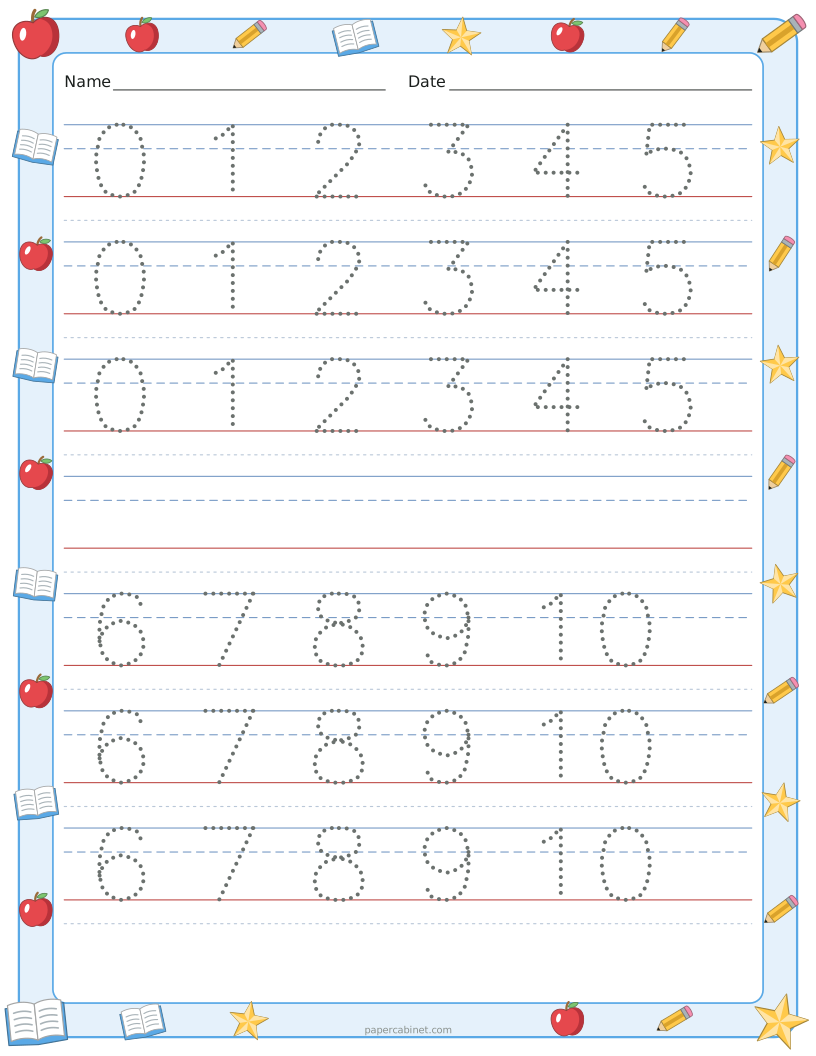
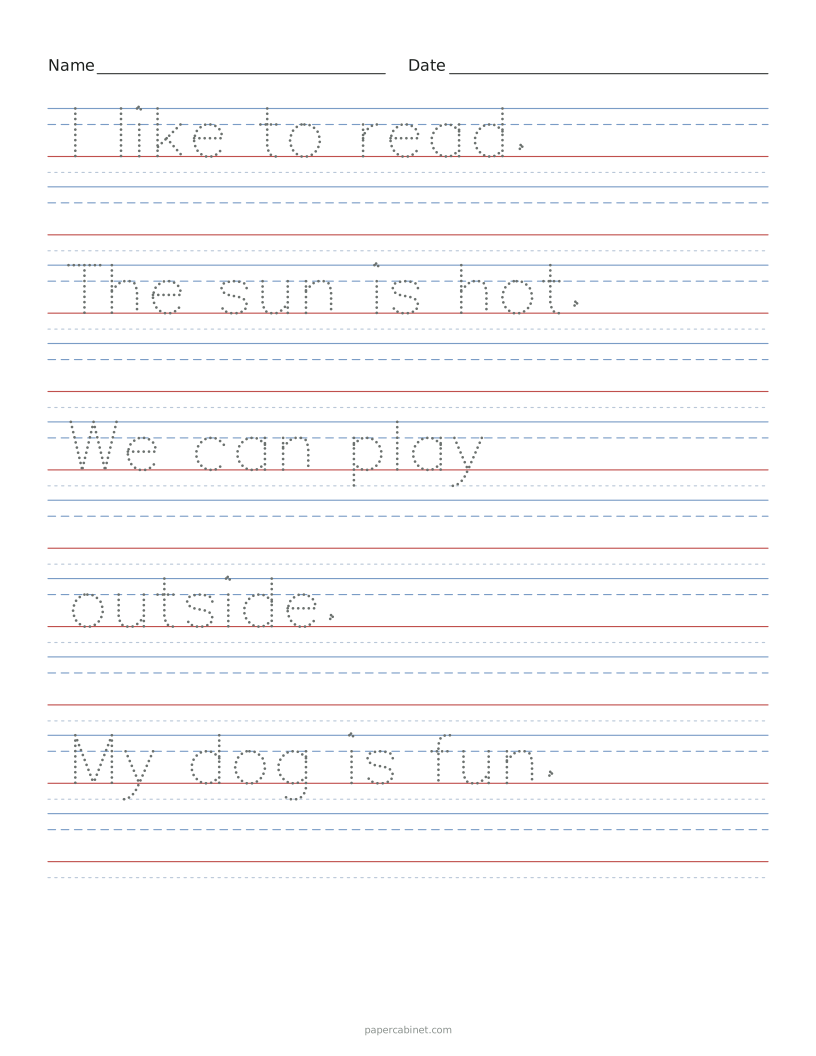
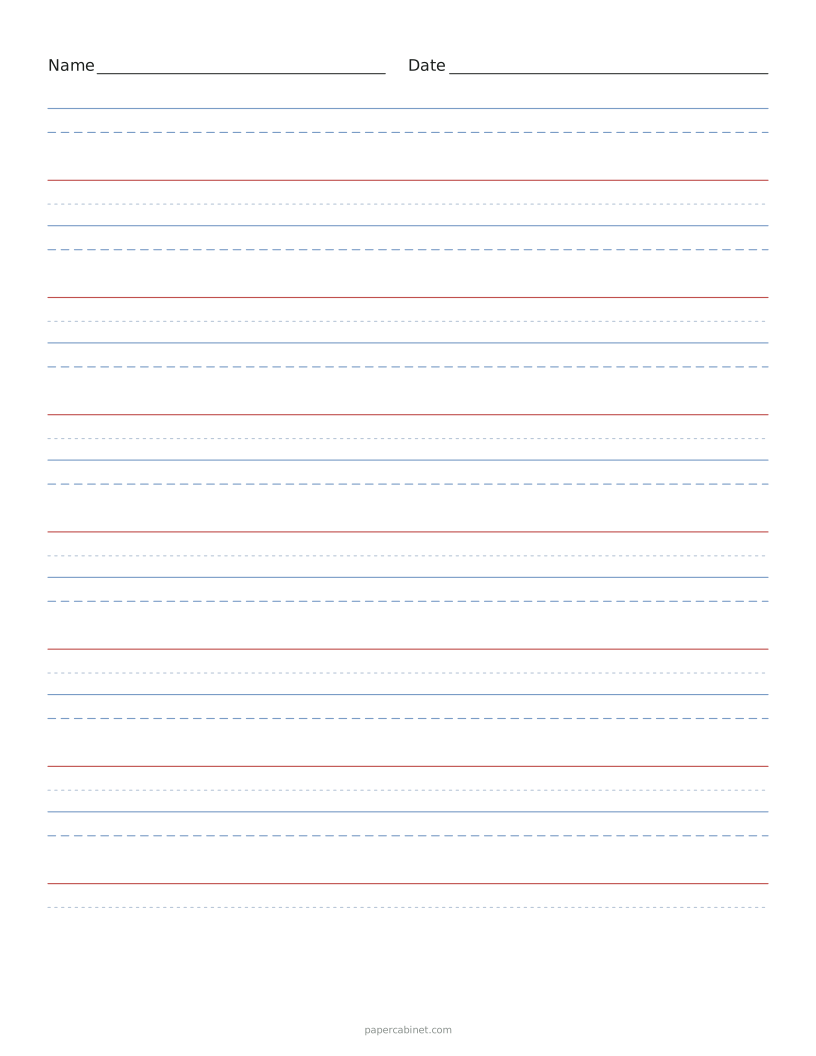
Each row has a solid top line, a dashed midline and a red baseline. Tall letters like b, d and capitals reach the top line. Small letters like a, c and e stop at the dashed midline. Every letter sits on the red baseline, and tails on g, j, p, q and y drop into the space below it.
Saying it out loud helps young writers: "start at the top line, pull down to the baseline." The lines give that language something to point at.
Which line size to use
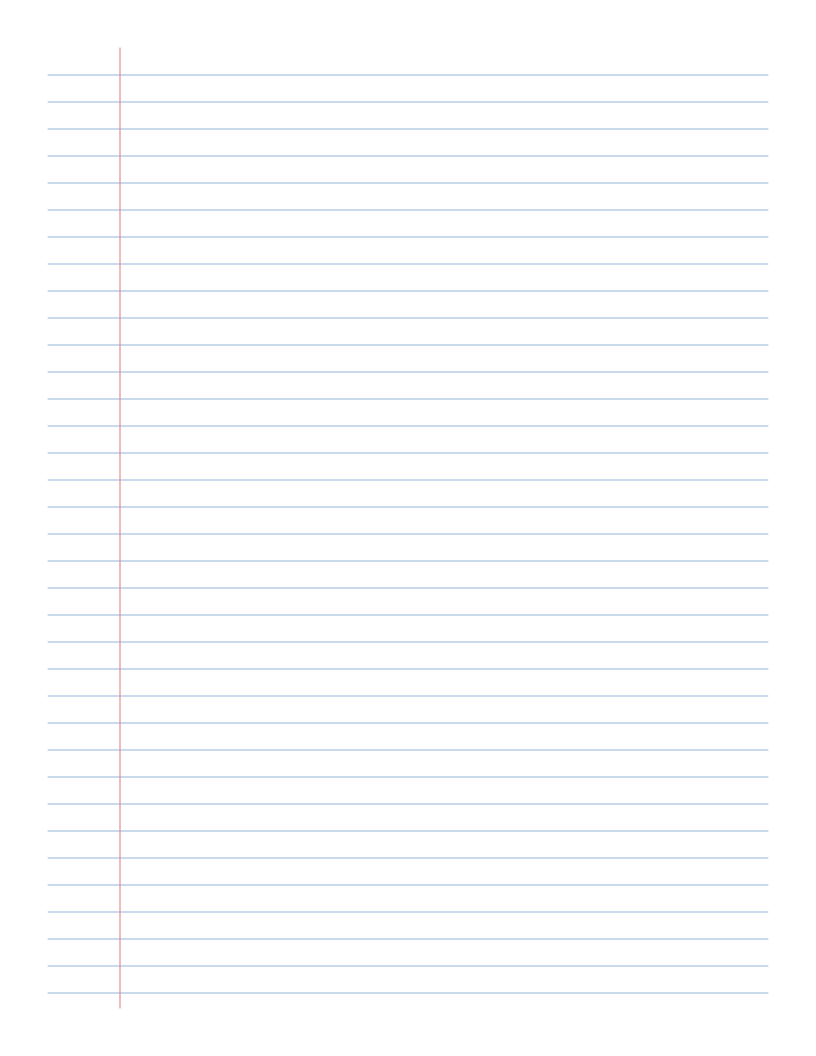
Large lines (about 3/4 inch) suit preschool and kindergarten, when pencil grip is still developing. Medium (1/2 inch) is typical for first and second grade. Small (3/8 inch) is close to the wide-ruled notebook paper kids move on to from third grade.
Tracing, then writing alone
Trace first, then write it without help. The blank row after each traced line is for that second step. Once a child can trace neatly, switch the tracing to light grey: there's less to follow, so their hand does more of the work.
Frequently Asked Questions
Can I make name tracing worksheets?
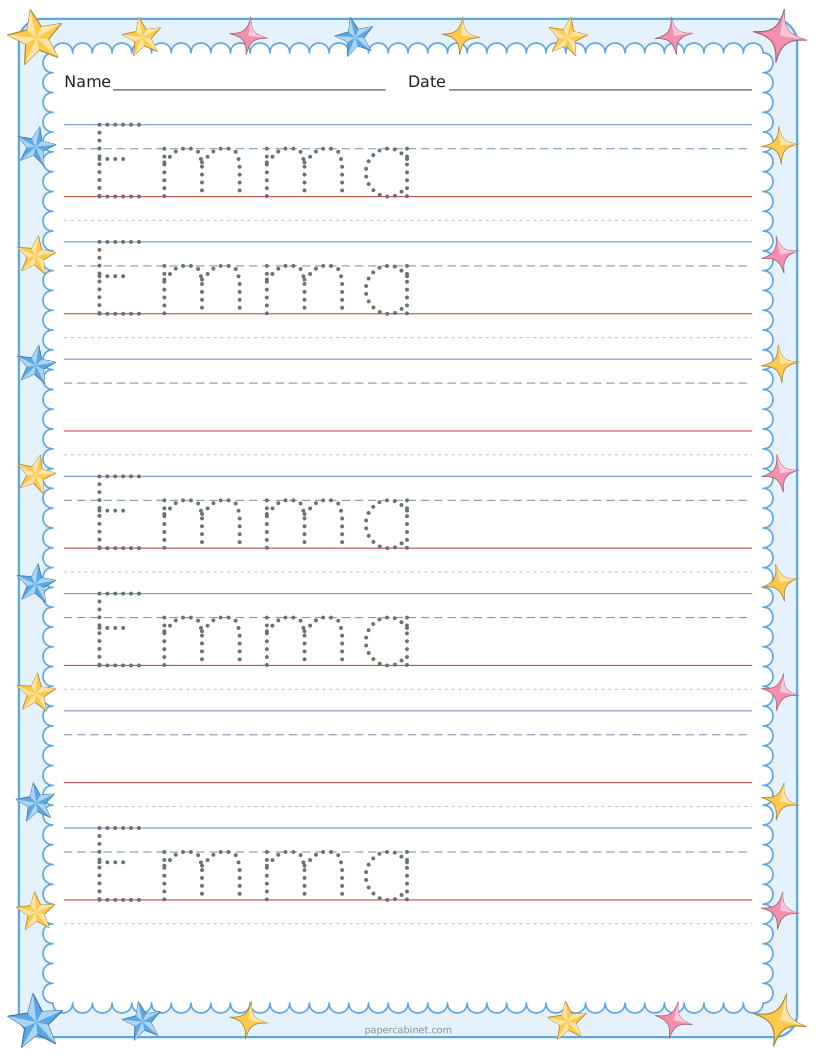
Yes. Type the name in the text box, and with "Repeat to fill the page" on you get a whole page of it to trace.
Can I make cursive handwriting worksheets?
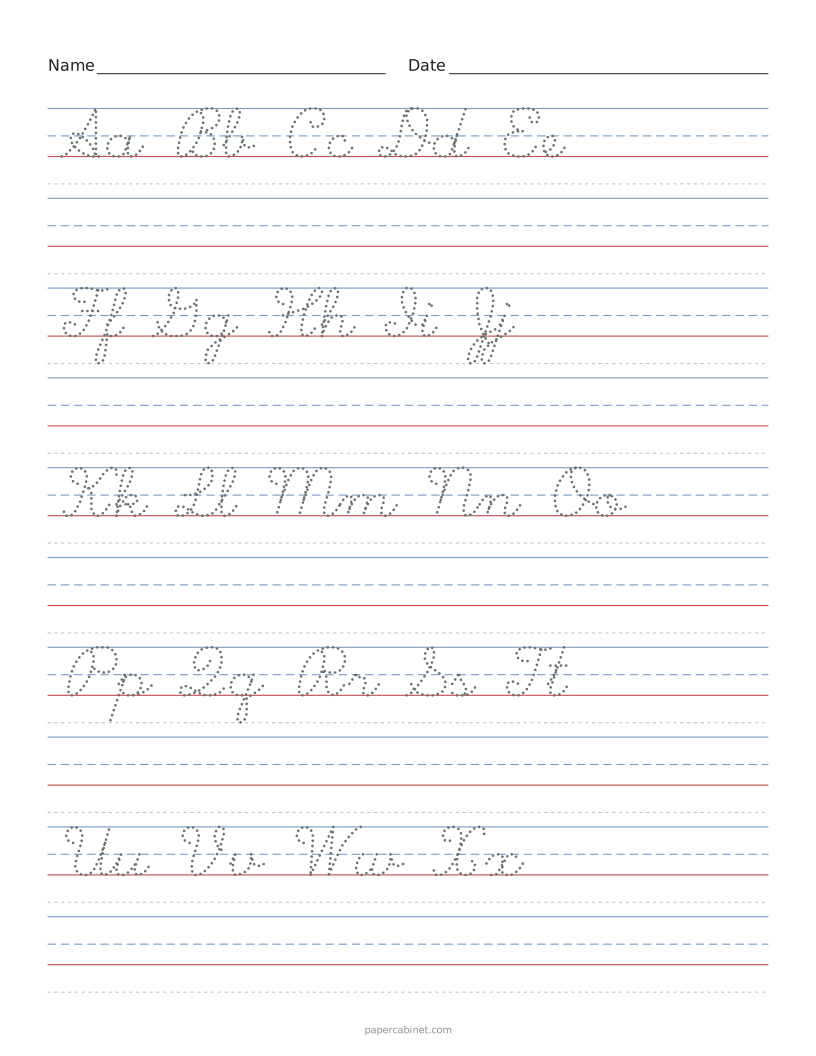
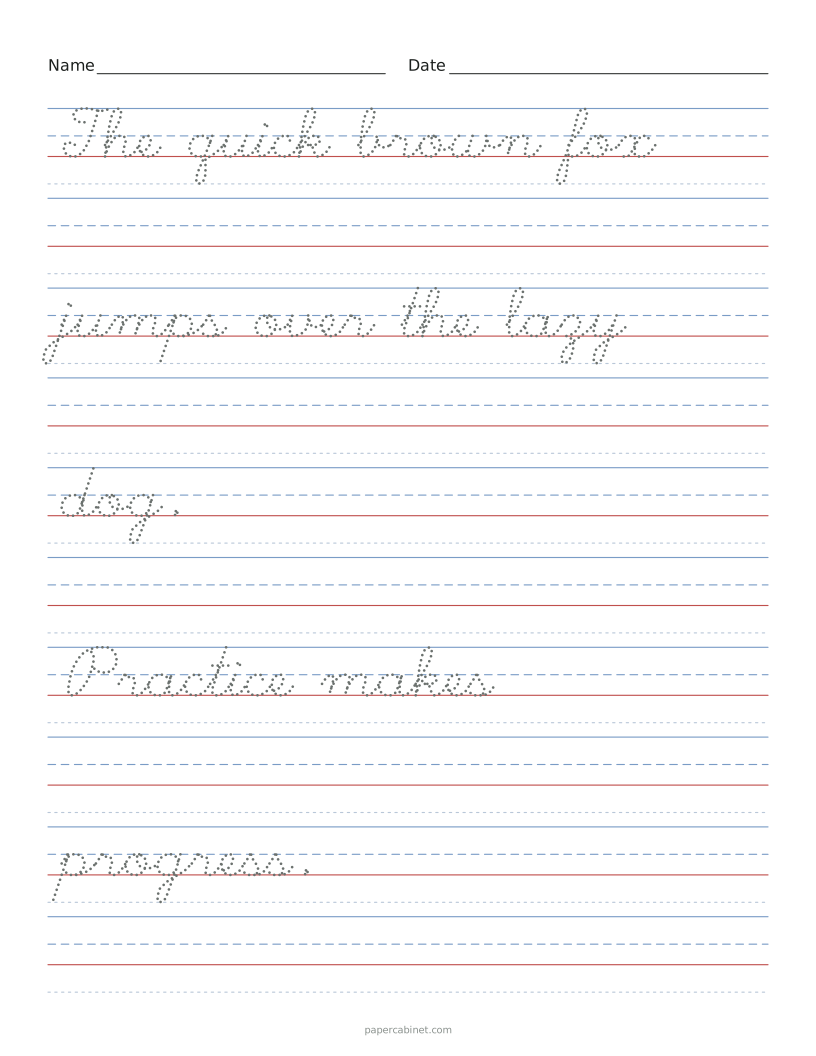
Yes. Choose Cursive under Letters. The same text appears in joined-up script on the same guide lines.
How do I print blank handwriting paper?
Clear the text box. You get a full page of empty three-line rows in the size you pick.
Why are some characters missing?
The tracing letters cover the English alphabet, numbers and common punctuation. Accented letters and emoji are not available yet, so the sheet tells you which ones it had to leave out.